As an Amazon Associate, I earn from qualifying purchases
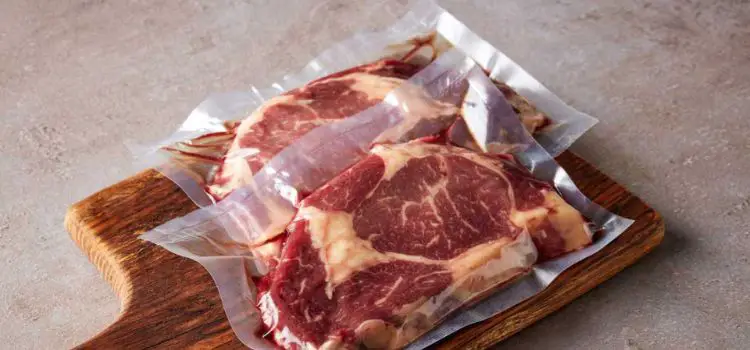
In the quest for optimal food preservation, vacuum sealing has emerged as a game-changer, particularly when it comes to frozen meat. This method not only extends the shelf life significantly but also reduces the dreaded freezer burn, ensuring that your meats retain their quality and taste over time. Vacuum sealing provides an airtight environment, preventing the oxidation and spoilage that can occur with traditional freezer storage methods.
In this article, we’ll delve into the benefits of vacuum sealing frozen meat, detail the process involved, discuss the equipment required, and offer practical tips for achieving the best results. We’ll also explore common challenges and how to overcome them, ensuring you get the most out of this preservation method.
Benefits of Vacuum Sealing Frozen Meat
Vacuum sealing frozen meat offers numerous advantages that make it a preferred choice for both home cooks and professional chefs.
- Extended Shelf Life: Vacuum sealing removes air from the packaging, which is crucial in preventing oxidation. Oxidation leads to spoilage and degradation of the meat’s flavor and texture. By eliminating air, vacuum-sealed meat can last significantly longer than meat stored in conventional packaging.
- Reduced Freezer Burn: Freezer burn occurs when meat is exposed to air, causing it to dehydrate and develop an off-flavor. Vacuum sealing protects meat from this exposure, maintaining its moisture content and flavor integrity, so you can enjoy delicious meals even after extended storage.
- Space Efficiency: Vacuum-sealed packages are compact and stackable, allowing you to maximize freezer space. This efficiency is especially beneficial for those who bulk buy or freeze meat for long-term storage.
Process of Vacuum Sealing Frozen Meat
To ensure that vacuum sealing is effective, it’s important to follow a well-defined process.
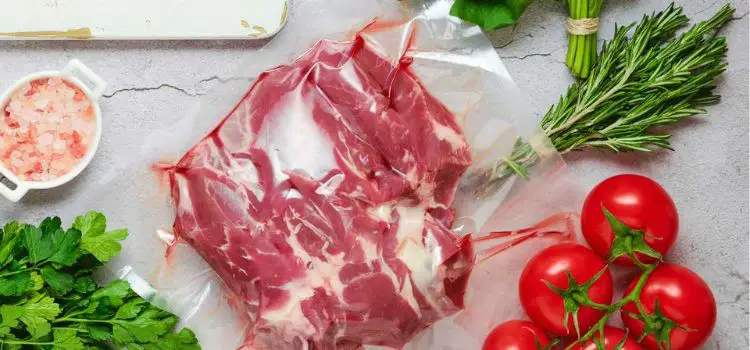
- Preparation: Begin by cleaning and drying the meat. Excess moisture can interfere with the sealing process, so pat the meat dry with paper towels. Portion the meat into manageable sizes that fit your vacuum seal bags, making sure to remove any excess fat or inedible parts.
- Sealing Steps: Once prepared, place the meat in a vacuum seal bag, leaving a few inches of space at the top. Insert the open end of the bag into the vacuum sealer, ensuring it’s properly aligned. Activate the vacuum sealer according to the manufacturer’s instructions, removing air and sealing the bag tightly.
- Storage Guidelines: Clearly label each bag with the date and type of meat before storing it in the freezer. This helps keep track of freshness and ensures you use older packages first, maintaining a good rotation of stored items.
Equipment Needed for Vacuum Sealing
Choosing the right equipment is crucial for successful vacuum sealing.
- Vacuum Sealer Types: There are two main types of vacuum sealers: external and chamber. External sealers are more common and ideal for home use, offering ease of operation and affordability. Chamber sealers are bulkier and more suited to commercial use, handling liquids better without drawing them into the machine.
- Bag Selection: High-quality vacuum seal bags are essential for effective sealing. Ensure the bags are compatible with your vacuum sealer and are durable enough to withstand freezing without tearing or puncturing.
Tips for Best Results
Achieving the best outcomes with vacuum sealing involves a few key practices.
- Proper Bag Sizing: Use bags that are appropriately sized for your meat portions. This ensures efficient sealing and minimizes the risk of air pockets, which can compromise the vacuum seal.
- Double Sealing: For added protection, especially with moist or fatty meats, consider double sealing the bag. This provides an extra layer of security against leaks and air exposure.
- Freezing Before Sealing: Pre-freezing meat can help maintain its shape and prevent juices from being sucked into the sealer. This is particularly useful for meats with high water content.
Potential Challenges and Solutions
While vacuum sealing is straightforward, some challenges can arise.
- Sealing Moist Meats: Moisture can interfere with the seal, leading to incomplete vacuuming. To counter this, pre-freeze the meat or use a paper towel inside the bag to absorb excess moisture before sealing.
- Equipment Malfunctions: Regular maintenance of your vacuum sealer is essential to prevent malfunctions. Clean the sealer regularly and check for any worn-out parts, replacing them as necessary.
- Avoiding Bag Punctures: Sharp bones can puncture the vacuum seal bags. To prevent this, wrap the meat in plastic wrap or butcher paper before placing it in the vacuum seal bag, providing a buffer against sharp edges.
Conclusion
Vacuum sealing frozen meat is a highly effective method for preserving its quality, extending its shelf life, and preventing freezer burn. By understanding the process, selecting the right equipment, and applying practical tips, you can achieve excellent results and enjoy the convenience of having well-preserved meat at your disposal.
We encourage you to try vacuum sealing and experience the benefits firsthand. Share your experiences and tips with others, contributing to a community focused on effective food preservation.
FAQ
Is it OK to vacuum seal already frozen meat?
Yes, you can vacuum seal already frozen meat. It’s crucial to ensure the meat is free of freezer burn before sealing. Vacuum sealing helps preserve its quality by reducing air exposure, which prevents further freezer burn and extends the meat’s shelf life.
How long does vacuum sealed frozen meat last?
Vacuum sealed frozen meat can last significantly longer than traditionally stored meat. While regular frozen meat may last around 6 to 12 months, vacuum sealing can extend its shelf life to 2 to 3 years, depending on the type of meat and storage conditions.
How do you defrost vacuum sealed meat?
To defrost vacuum sealed meat, place it in the refrigerator overnight for a slow, safe thaw. Alternatively, use cold water to speed up the process: submerge the sealed package in a bowl of cold water, changing the water every 30 minutes until thawed. Avoid using hot water to prevent bacterial growth.
As an Amazon Associate, I earn from qualifying purchases