As an Amazon Associate, I earn from qualifying purchases
Credit: m.youtube.com
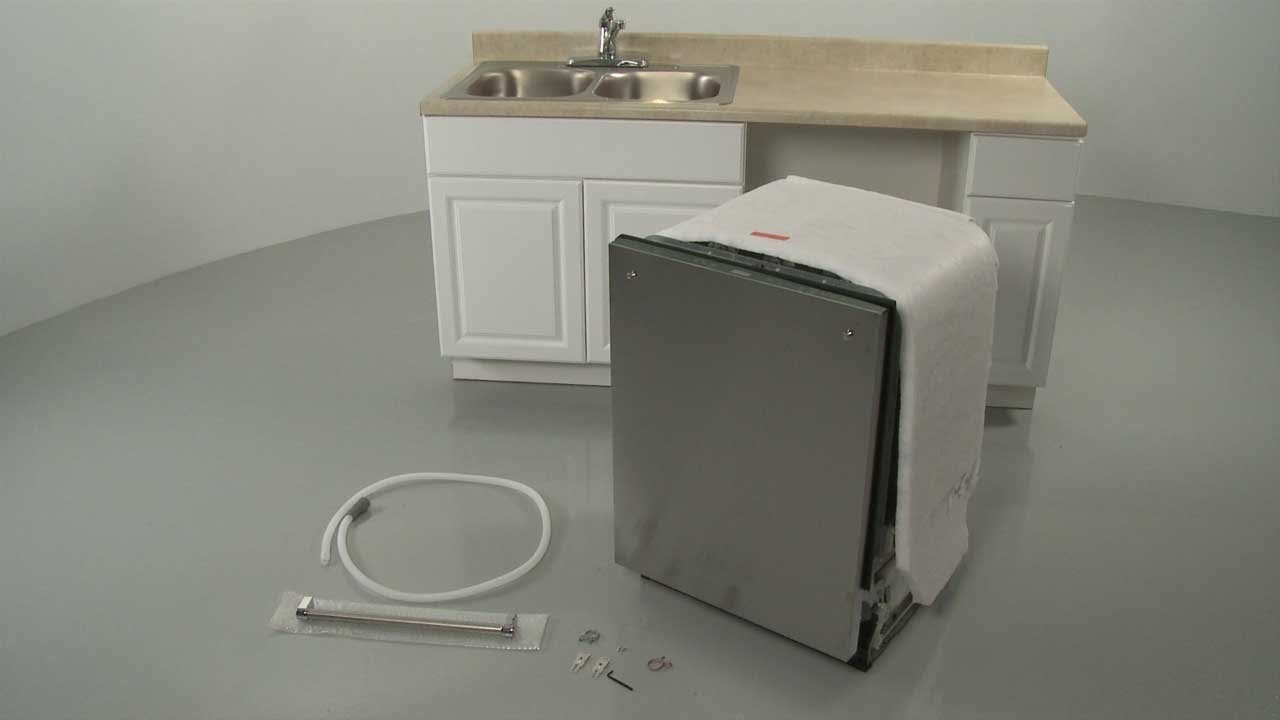
Installing a KitchenAid dishwasher can seem daunting. But with the right steps, you can do it yourself. This guide will help you install your dishwasher easily and safely.
What You Will Need
Before starting, gather these tools and materials:
- Adjustable wrench
- Flathead screwdriver
- Phillips screwdriver
- Measuring tape
- Teflon tape
- Bucket
- Level
- Safety glasses
- KitchenAid installation manual
Steps to Install Your KitchenAid Dishwasher
Step 1: Prepare The Area
Clear the space where you will install the dishwasher. Remove old appliances if necessary. Make sure the area is clean and dry.
Step 2: Check The Plumbing
Ensure that you have hot water access. Check the water supply line and drain connections. Make sure they are in good condition.
Step 3: Measure The Space
Use the measuring tape to ensure your dishwasher will fit. Measure the height, width, and depth of the space. Make sure your new dishwasher matches these measurements.
Step 4: Prepare The Dishwasher
Carefully remove your KitchenAid dishwasher from the box. Check for any damage. If you see any issues, contact the store immediately.
Step 5: Connect The Water Supply Line
Locate the water inlet valve on the dishwasher. Wrap Teflon tape around the threads. Connect the water supply line securely. Use the adjustable wrench to tighten it.
Step 6: Install The Drain Hose
Find the drain hose at the back of the dishwasher. Connect it to the sink drain. Make sure the connection is tight to prevent leaks.
Step 7: Level The Dishwasher
Place the dishwasher in the opening. Use a level to check if it is even. Adjust the feet if needed to ensure it is level.
Step 8: Secure The Dishwasher
Use screws to secure the dishwasher to the countertop. This will prevent it from moving. Follow the instructions in the manual for proper placement.
Step 9: Connect The Power Supply
Check the power supply. Make sure the outlet is ready. If needed, connect the dishwasher to the power source according to the manual.
Step 10: Test For Leaks
Turn on the water supply. Check for leaks around the connections. If you see any leaks, tighten the connections.
Step 11: Run A Test Cycle
Fill the dishwasher with dishes. Run a short cycle to see if everything works. Listen for unusual sounds and check for leaks again.
Common Mistakes to Avoid
When installing your KitchenAid dishwasher, avoid these common mistakes:
- Not reading the manual carefully.
- Forgetting to check for leaks.
- Not securing the dishwasher properly.
- Over-tightening connections, which can cause damage.
- Neglecting to level the dishwasher.
When to Call a Professional
Sometimes, it’s best to call a professional. If you encounter these issues, don’t hesitate:
- If you are unsure about electrical connections.
- If you see significant leaks.
- If you cannot level the dishwasher.
- If you have plumbing problems.
Conclusion
Installing a KitchenAid dishwasher can be easy. Follow these steps for a successful installation. Always check your manual and ensure safety first. Enjoy your new dishwasher and the convenience it brings!
Frequently Asked Questions
How Do I Prepare For Kitchenaid Dishwasher Installation?
Gather all necessary tools, read the manual, and ensure water and power connections are accessible.
What Tools Do I Need For Installation?
You’ll need a screwdriver, adjustable wrench, level, and tape measure for a smooth installation process.
Can I Install My Kitchenaid Dishwasher Myself?
Yes, a DIY installation is possible with basic tools and following the provided installation instructions carefully.
What Are Common Kitchenaid Dishwasher Installation Issues?
Common issues include improper alignment, water leaks, and electrical connection problems, which can be easily fixed.
As an Amazon Associate, I earn from qualifying purchases