As an Amazon Associate, I earn from qualifying purchases
Welcome to our comprehensive guide on mastering brewing with the CV1 Coffee Maker! Whether you’re a coffee lover looking to elevate your morning routine or a newbie eager to explore the world of specialty coffee, this article is your gateway to unlocking the full potential of your CV1 Coffee Maker.
From brewing techniques to maintenance tips, we’ve got you covered. Let’s explore the art of brewing the perfect cup of coffee with the CV1!
Unboxing and Setup CV1 Coffee Maker
Step-by-step guide on unboxing the CV1 Coffee Maker:
- Start by carefully unpacking the CV1 Coffee Maker from its box.
- Remove all packaging materials and ensure you have all the components in the user manual.
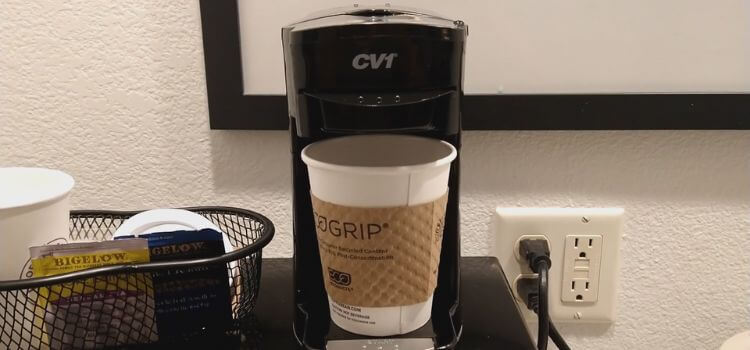
- Place the machine on a stable and flat surface, preferably near an electrical outlet.
- Fill the water tank with clean water and plug it into your machine.
How to assemble and set up the CV1 Coffee Maker:
- Before assembling, make sure all components are clean and dry.
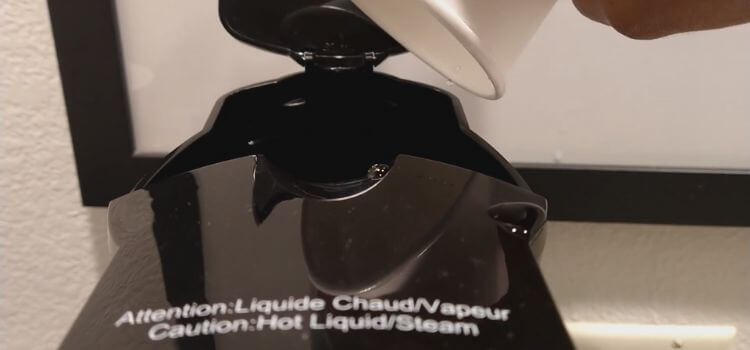
- Place the filter basket inside the carafe and insert it into the designated slot on the machine.
- Twist and lock the filter holder in place.
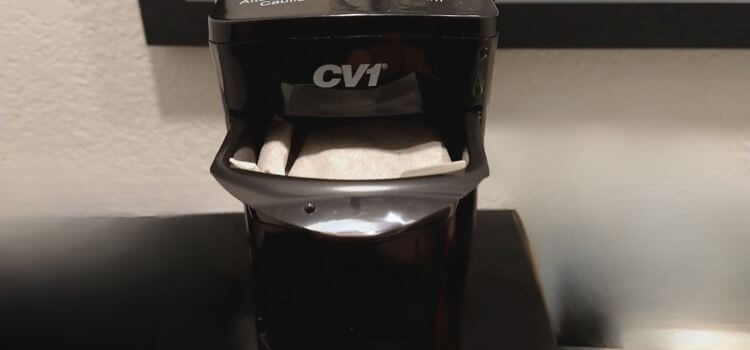
- You can choose between paper or permanent metal filters based on your preference.
- Add your desired amount of coffee grounds to the filter.
- Fill the water tank with clean, cold water to the desired level.
- Return the carafe to the warming plate.
- Turn on the machine and select your desired brewing strength and size using the control panel.
- Once set, press the “brew” button to start brewing your coffee.
Brewing Basics CV1 Coffee Maker
Understanding the different components of the CV1 Coffee Maker:
- Water Tank: This is where you fill the machine with water for brewing. Make sure to use clean and filtered water for the best results.
- Filter Basket: The filter basket holds your coffee grounds and determines the strength of your brew.
- Filter Holder: This component locks in the filter basket and ensures a secure fit.
- Control Panel: The control panel allows you to select your preferred brewing strength size and also includes the “brew” button.
- Warming Plate: The warming plate keeps your carafe warm after brewing.
Overview of brewing settings and options:
- Strength: This determines the strength of your coffee, ranging from mild to strong.
- Size: Depending on your needs, you can choose between a single cup or a full carafe.
- Brew Time: The brewing time can be adjusted based on your desired strength and size.
Brewing the Perfect Cup
Step-by-step instructions on how to use CV1 coffee maker:
- Begin by filling the water tank with fresh water to your desired level.
- Place the filter basket into the carafe and lock it in place.
- Place your desired quantity of coffee grounds into the filter basket.
- Select your desired brewing strength, size, and brew time using the control panel.
- Press the “brew” button to start brewing.
- Once the brewing process is complete, pour your coffee into your favorite mug and enjoy!
Tips for adjusting brew strength and flavor profiles:
- Use a finer grind size for a stronger cup and increase the brewing time.
- Use a coarser grind size to achieve a milder cup and decrease the brewing time.
- Experiment with different types of coffee beans to discover unique flavor profiles.
Advanced Brewing Techniques:
- Brewing iced coffee: To brew a refreshing cup of iced coffee, simply fill the water tank with ice and follow the usual brewing instructions.
- Using pre-infusion: Pre-infusion allows for a more even flavor extraction from your coffee grounds. Simply press and hold the “brew” button for three seconds before releasing it to activate this feature.
- Programming brew time: The CV1 Coffee Maker lets you set a brewing schedule, ensuring you wake up to a freshly brewed cup of coffee every morning. Simply set the desired time in the control panel and ensure the machine is filled with water and coffee grounds before bed.
Maintenance and Cleaning
Regular maintenance is crucial for keeping your CV1 Coffee Maker in top shape like any other appliance. Here are some tips to help you maintain your machine:
- Always use clean and filtered water.
- Clean your coffee maker after each use by removing the filter basket and washing it with warm, soapy water.
- Use a damp cloth to wipe down the machine’s exterior.
- Descale your machine regularly to remove mineral buildup.
Descaling your CV1 Coffee Maker:
Descaling eliminates mineral deposits that can accumulate in your coffee maker over time. Here’s how you can describe your CV1:
- Mix equal water and white vinegar and fill the water tank with the solution.
- Run a full brewing cycle without coffee grounds.
- Rinse the machine by running another cycle with clean water.
- Clean the machine’s exterior using a damp cloth, then allow it to air dry.
Troubleshooting Common Issues of CV1 Coffee Maker
Common problems users encounter and how to resolve them:
- Machine not turning on: Verify that the machine is properly plugged in and that the outlet is operational.
- Coffee grounds overflowing: This may be caused by too much coffee or a grind size that is too fine. Adjust accordingly.
- Carafe leaking: Check for cracks or damage on the carafe and replace if necessary.
Troubleshooting tips for a seamless brewing experience:
- Be sure to consult the user manual for detailed troubleshooting instructions.
- If problems persist, contact customer service or visit a certified repair center.
Conclusion
Congratulations, you have now successfully assembled, set up, and brewed your first cup of coffee with the CV1 Coffee Maker! With adequate maintenance and attention, this machine will continue to provide you with delicious and freshly brewed coffee for years to come.
Remember to experiment with different brewing techniques and savor the perfect cup of coffee every time. Happy brewing!
As an Amazon Associate, I earn from qualifying purchases