As an Amazon Associate, I earn from qualifying purchases

Credit: thepracticalkitchen.com
Have you ever wondered if you can make butter at home? The answer is a big yes! You can use a KitchenAid mixer to make delicious, creamy butter. Making butter at home is fun and easy. Plus, it tastes much better than store-bought butter. In this article, we will guide you step-by-step on how to make butter using your KitchenAid mixer.
Why Make Your Own Butter?
Making butter at home has many benefits:
- Freshness: Homemade butter is fresh and tasty.
- Control: You can control the ingredients.
- Fun: It’s a fun activity to do with kids.
- Cost-effective: Making butter can save you money.
What You Need
Before you start making butter, gather the following items:
- KitchenAid Mixer: This is your main tool.
- Heavy Cream: You need about 1 pint.
- Salt: Optional, for flavor.
- Spatula: For scraping the bowl.
- Container: To store your butter.
Step-by-Step Guide to Making Butter
Now that you have everything, let’s make butter!
Step 1: Pour The Cream
Start by pouring 1 pint of heavy cream into your KitchenAid mixer bowl. Make sure not to overfill. Leave some space for mixing.
Step 2: Attach The Whisk
Use the whisk attachment for best results. This helps to whip the cream easily.
Step 3: Start Mixing
Turn on your mixer at a low speed. Gradually increase the speed to medium-high. Mix for about 8 to 10 minutes.
At first, the cream will turn into whipped cream. This is normal. Keep mixing until you see clumps forming.
Step 4: Watch For Separation
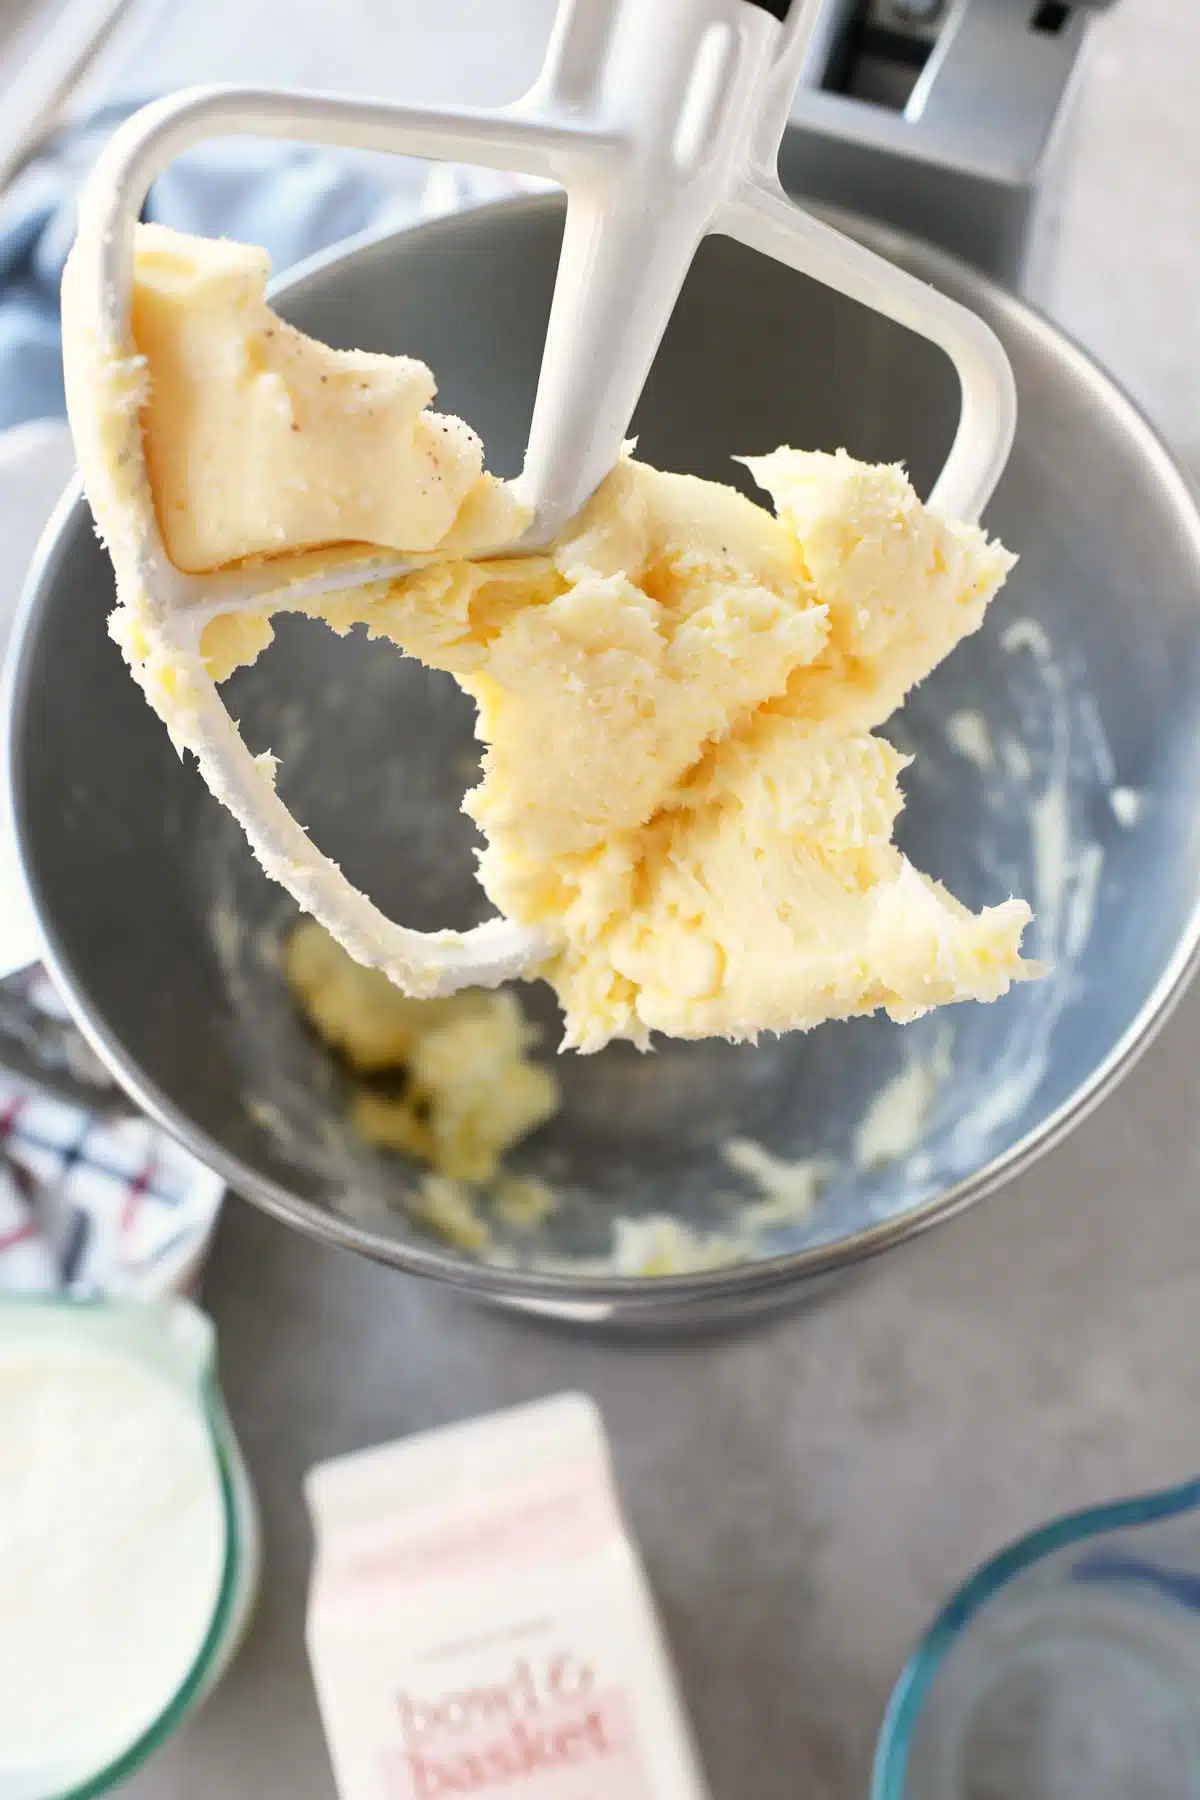
After a while, the butter will separate from the buttermilk. You will notice yellow lumps forming. This means you are almost done!
Step 5: Drain The Buttermilk
Once you see the butter clumps, stop the mixer. Carefully drain the buttermilk into a bowl. You can save the buttermilk for pancakes or baking!
Step 6: Rinse The Butter
Put the butter back into the mixer bowl. Add cold water to rinse off the remaining buttermilk. Mix on low speed for a few seconds.
Drain the water and repeat this step until the water is clear. This helps the butter last longer.
Step 7: Add Salt (optional)
If you like salted butter, now is the time to add salt. Start with a pinch and mix well. Taste and adjust as needed.
Step 8: Store Your Butter
Your homemade butter is now ready! Use a spatula to transfer it to a container. Seal the container and store it in the fridge.
